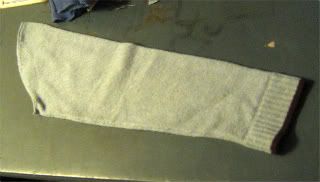
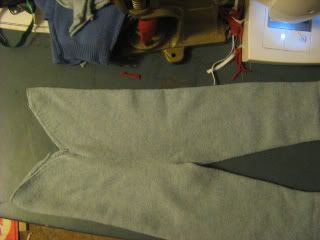
choose your sweater, felt it if you desire, or not. i personally dont felt my sweaters, they work just fine as is for me.
cut off the arms at the seam.
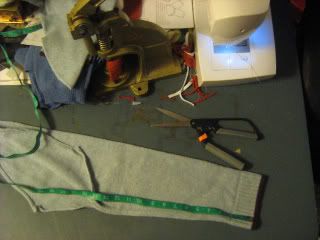
measure down the length of the seam of the arms for your desired inseam, i usually add about 1/2" to an inch as well, i figure i can always fold them as needed, and i usually dont need to.
cut from the top of the seam until you get to where your inseam will start on both arms.
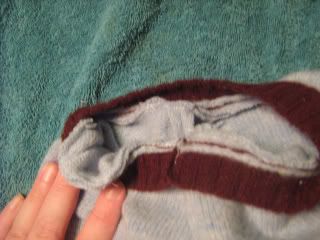
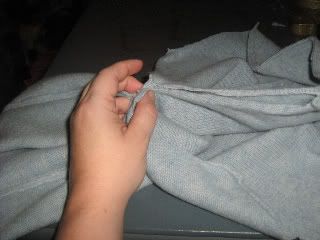
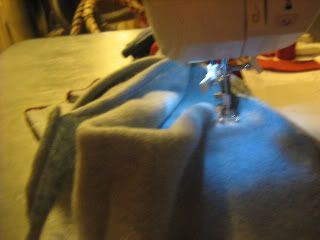
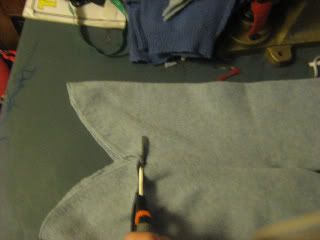
right side out with right sides together, line up openings of the two arms together starting at the crotch. you will then sew from the crotch a straight line up the length desired for your rise (halved, so if you need a 20" rise you will sew approx 10"). this will create a triangular shaped scrap that you will cut off. repeat for the other side, then trim off scrap.
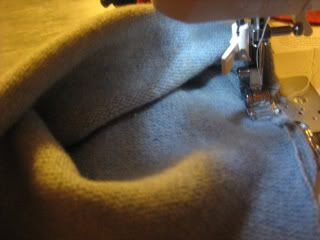
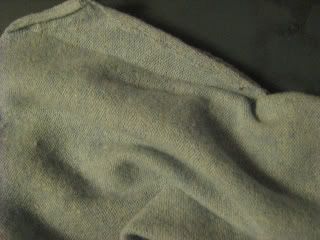
turn right side out. trim off the excess so that you have a straight "waist". i like to then trim a slight swoop in the waist in the front.
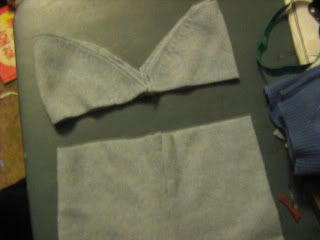
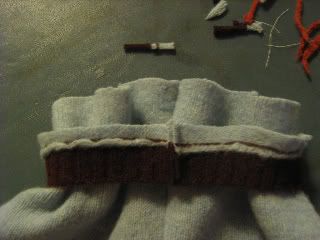
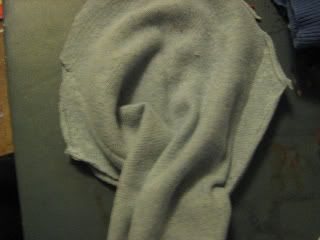
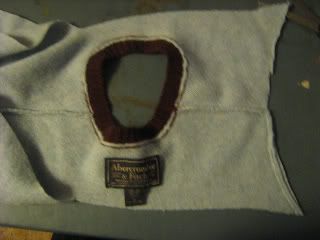
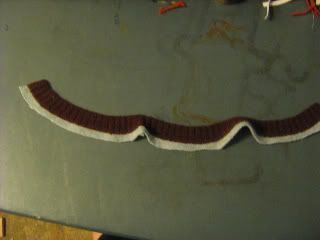
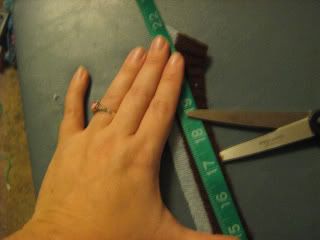
for the waistband, i like to use the neck of the sweater if i can, if you cant, you can use the ribbing from the waist of the sweater for this next part. cut out the neck, i prefer to have about 1/2" of the sweater left on the neck for the SA. then, if it doesnt measure, intact, what you want for the waistband, cut it on a seam so you have a ribbon. measure the ribbon, relaxed, to about 1/2" under the size waistband you need (for example, if your child has an 18" waist cut the neck or ribbing, relaxed, to 17.5"). then with right sides together, sew the ends together.

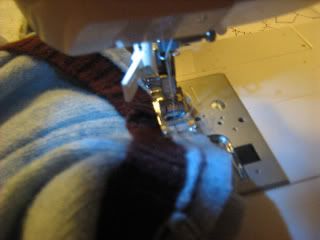
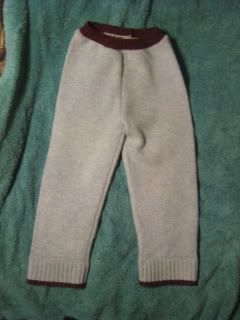
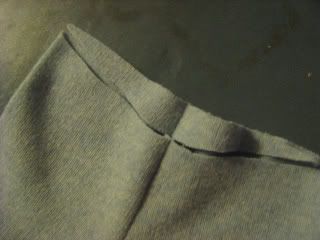
put the right side out longies inside the waistband. the waistband needs to be right side together with the longies, with the top edge of the longies against the bottom edge of the waist. tack, and sew, while pulling the waistband tightly (as described in the binding tut above) and keeping the longies relaxed. trim off excess, and turn the waistband up. yay! you have made longies!