About Me

Hermit, photographer, no-pinning seamstress, crazy person, mama.

Sunday, December 20, 2009

From the Pot to Finished

This weekend i did my first attempt at dyeing wool interlock pieces for a pair of Crescent Moon Yoga Pants. It was much easier than i anticipated!

I used the Dye Another Day tutorial

Here is my mini pictorial :) The colors are a bit deeper in real life.

...


Friday, December 18, 2009

100 Dreams

An aquaintance of mine through a forum that we are both members of recently designed this through Spoonflower.
http://sewmeagarden.com/100dreams/

Spoonflower allows you to design your own fabric that they make for you.
http://www.spoonflower.com/fabric/125142

Truly, this is an amazingly gorgeous dress, she is quite the artist!

Saturday, December 12, 2009

Super Quick & Easy Recycled Mittens

this is ridiculously easy. :)

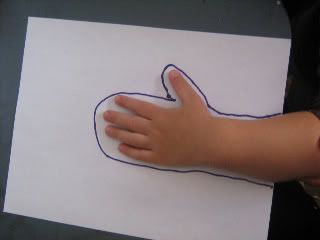
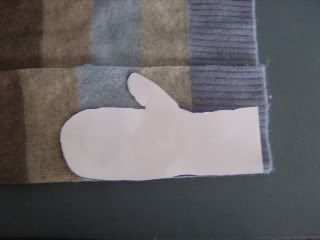
first, create a lovely template around your childs' hand.

Photobucket
Photobucket


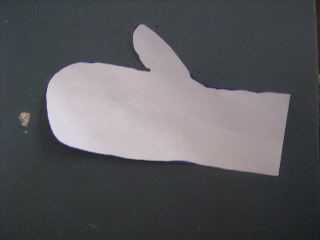
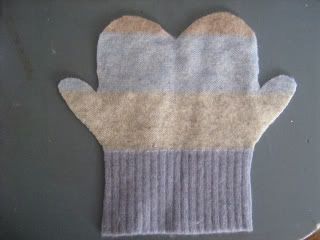
cut the front or back of your sweater from the seams. then, fold the piece so that your template will fit appropriately. i like to use the ribbing from the sweater as the cuff as it makes it even more ridiculously easy. cut out your mitten. repeat.

Photobucket
Photobucket
Photobucket


turn the mitten right sides together. sew a straight stitch starting at the fold on a gentle curve. when you get to the crotch of the thumb, put your needle down and spin, then proceed to finish the sewing. be sure to tack each end.

Photobucket
Photobucket
Photobucket


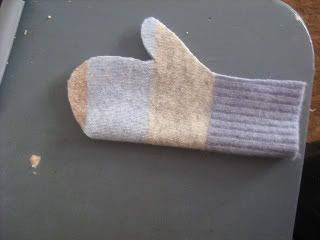
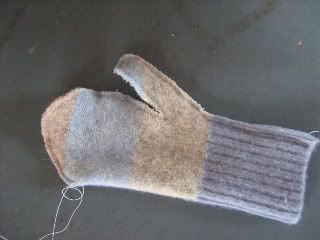
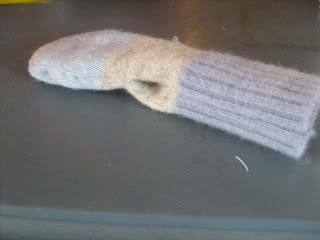
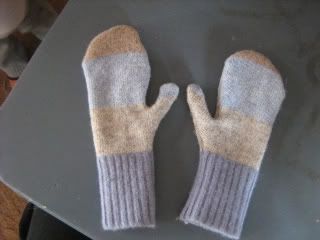
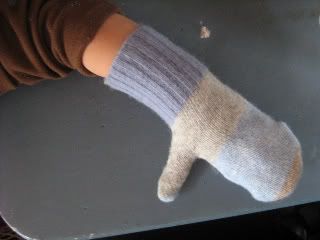
turn your mitten right side out, and then turn the thumb. wha-la! quick and easy recycled mitten!

Photobucket
Photobucket
Photobucket

Friday, December 11, 2009

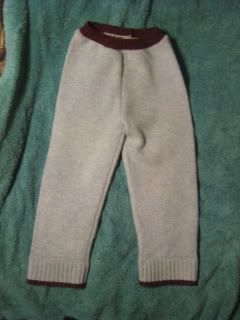
Recycled Wool Longies Tutorial

choose your sweater, felt it if you desire, or not. i personally dont felt my sweaters, they work just fine as is for me.

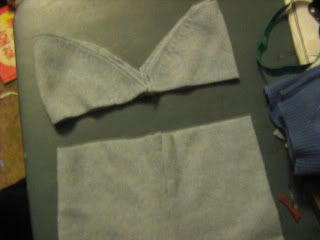
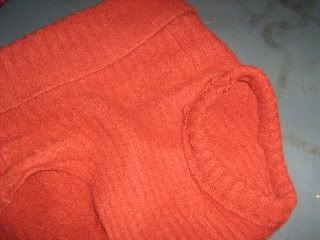
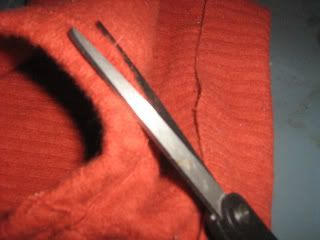
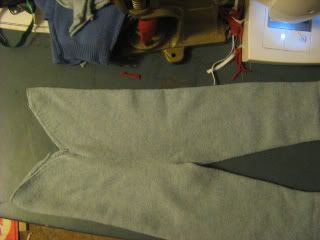
cut off the arms at the seam.
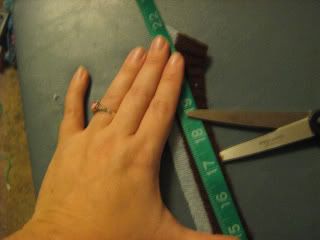
measure down the length of the seam of the arms for your desired inseam, i usually add about 1/2" to an inch as well, i figure i can always fold them as needed, and i usually dont need to.
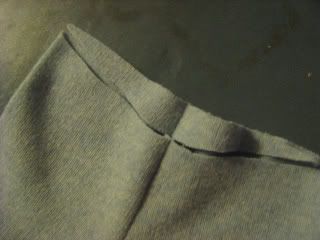
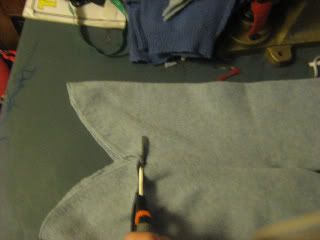
cut from the top of the seam until you get to where your inseam will start on both arms.
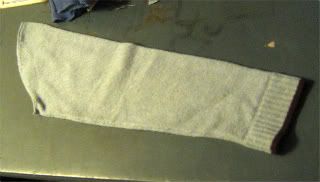
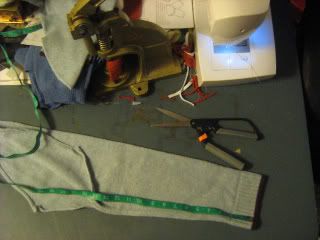
Photobucket
Photobucket

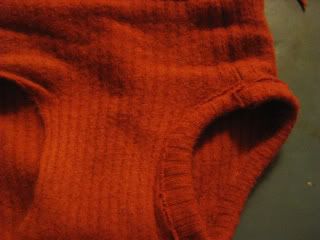
right side out with right sides together, line up openings of the two arms together starting at the crotch. you will then sew from the crotch a straight line up the length desired for your rise (halved, so if you need a 20" rise you will sew approx 10"). this will create a triangular shaped scrap that you will cut off. repeat for the other side, then trim off scrap.
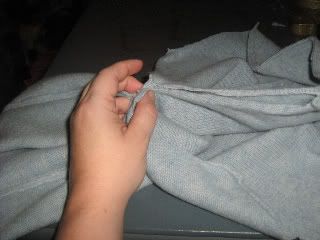
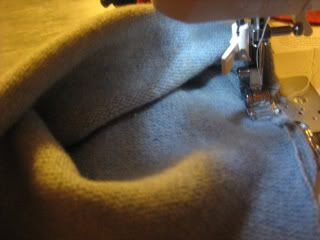
Photobucket
Photobucket
Photobucket
Photobucket
Photobucket
Photobucket


turn right side out. trim off the excess so that you have a straight "waist". i like to then trim a slight swoop in the waist in the front.
Photobucket
Photobucket
Photobucket
Photobucket


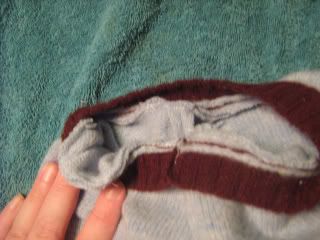
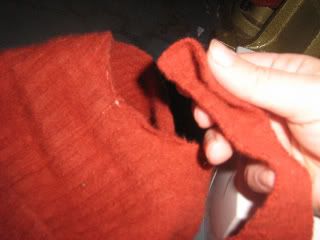
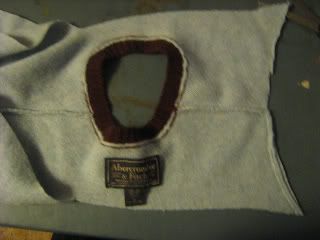
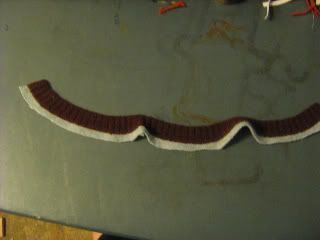
for the waistband, i like to use the neck of the sweater if i can, if you cant, you can use the ribbing from the waist of the sweater for this next part. cut out the neck, i prefer to have about 1/2" of the sweater left on the neck for the SA. then, if it doesnt measure, intact, what you want for the waistband, cut it on a seam so you have a ribbon. measure the ribbon, relaxed, to about 1/2" under the size waistband you need (for example, if your child has an 18" waist cut the neck or ribbing, relaxed, to 17.5"). then with right sides together, sew the ends together.
Photobucket
Photobucket
Photobucket
Photobucket


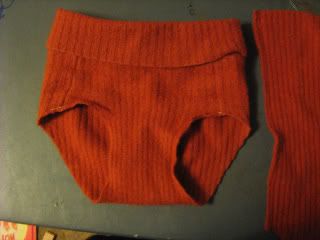
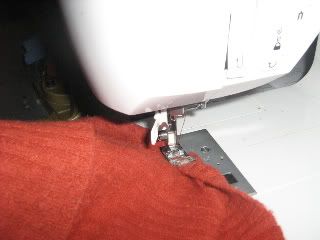
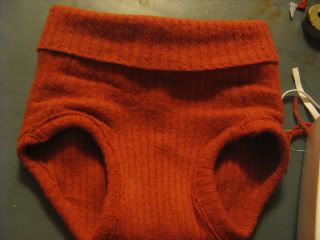
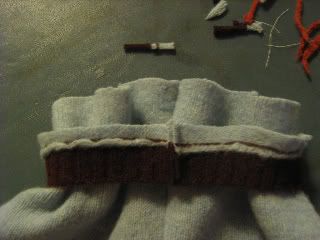
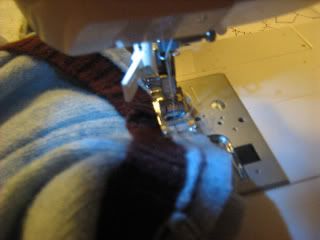
put the right side out longies inside the waistband. the waistband needs to be right side together with the longies, with the top edge of the longies against the bottom edge of the waist. tack, and sew, while pulling the waistband tightly (as described in the binding tut above) and keeping the longies relaxed. trim off excess, and turn the waistband up. yay! you have made longies!
Photobucket
Photobucket
Photobucket
Photobucket

Recycled Wool Binding Tutorial

my son gets red marks around the legs from being in elastic too often (polybraid or foe, doesnt matter) so i try to have less elastic on his thighs as possible. i decided to use the wool ribbing from the waist of the sweater as binding. basically you are just using it the same as FOE.


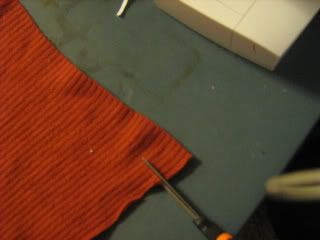
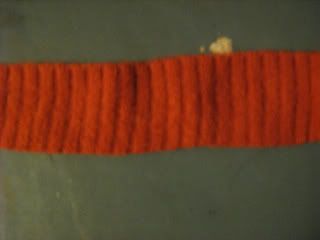
cut off the ribbed part along the waist to make a ribbed, wool ribbon to your desired thickness, i like approx. 2".

Photobucket
Photobucket
Photobucket


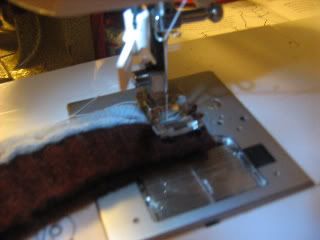
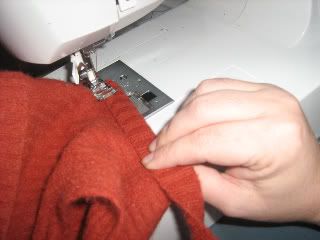
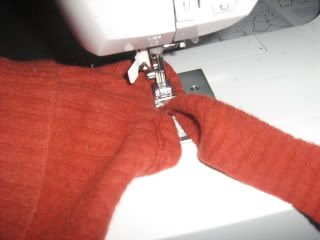
just like FOE, take your wool binding and fold in half while sandwiching the edge of the wool that you are binding. in this case, i am binding the legs of the soaker. tack it down. then, pull the binding part tight as you would FOE or elastic and sew a straight stitch. do not pull the soaker, it needs to remain relaxed to get a somewhat gathered effect.

Photobucket
Photobucket
Photobucket
Photobucket


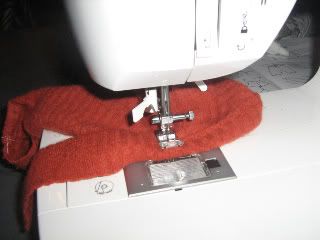
sew until you reach the point that you started. sew the binding slightly overlapping the beginning, tack, and turn so that you can now sew straight down (similar to casings) as shown.

Photobucket


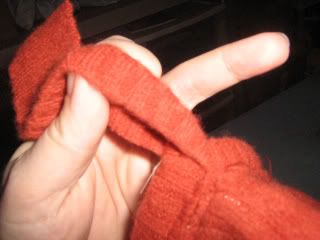
remove from machine. fold back the extra binding, pull it back and trim the extra off closely to the seam. proceed to trim the extra all along the seam of your newly bound area. yay! you have made wool binding for your woolies :)

Photobucket
Photobucket
Photobucket
Photobucket
Photobucket